Monday, 26 May 2025

Custom List Entries Made Effortless – Just Script It with SuiteScript!

Business Scenario:

 In certain situations, business users may need the ability to manage a specific custom list field.


Example:

There is a custom list named "Color Names" with the internal ID "customlist_color". It currently contains the following values: Red, Green, Yellow, and Orange. The user would like to add a new color to this list.

Limitations:

 Custom lists in NetSuite do not support direct permission controls. Unlike standard or custom records, you cannot assign custom roles to modify customlist_* values.

Current Process:

 Currently, users must contact NetSuite admins to add new custom list values, which can cause delays due to approval steps and SOX compliance.

Alternative Solution:

We can implement this functionality through a SuiteLet script.

You can create a simple SuiteLet script that includes a single text field where users can enter a new value. Upon submitting the form, the script will automatically add the entered value to the specified custom list. 

Sample SuiteLet Code:
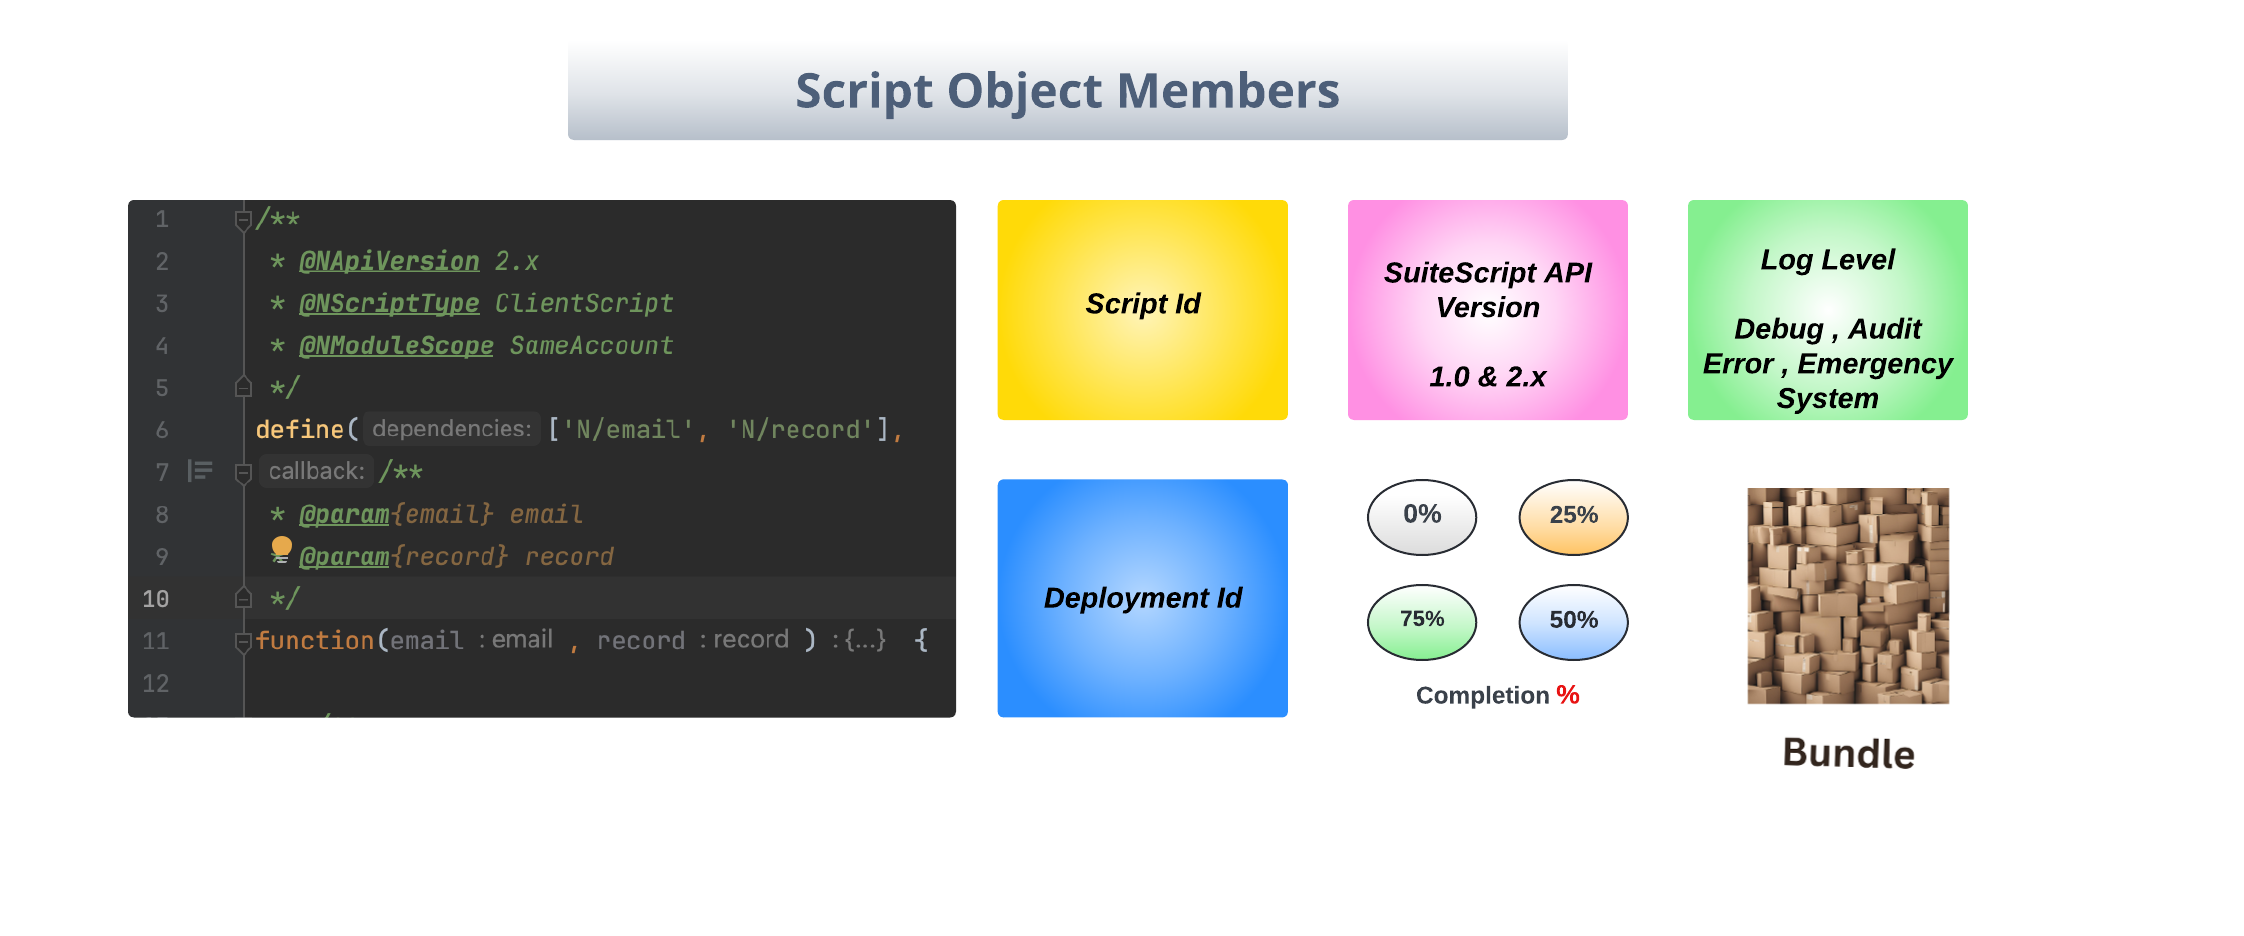

/**
* @NApiVersion 2.1
* @NScriptType Suitelet
*/
define(['N/ui/serverWidget','N/record','N/log','N/search'],
function(ui, record, log, search) {

// Replace with your custom list ID
const CUSTOM_LIST_ID = 'customlist_color_names';

function onRequest(context) {
if (context.request.method === 'GET') {
const form = homePage();
context.response.writePage(form);
} else {
const value = context.request.parameters.custpage_new_value_to_list;

try {
if (checkDuplicateValue(value)) {
buildErrorPage(context, value);
return;
}

const newId = addNewValueToCustomList(value);
buildSuccessPage(context, value, newId, context.request.url);

} catch (e) {
log.error('Error adding value to custom list', e);
context.response.write(`Error: ${e.message}`);
}
}
}

function homePage() {
const form = ui.createForm({ title:'Add New Value to Custom List'});
form.addField({
id: 'custpage_new_value_to_list',
type: ui.FieldType.TEXT,
label: 'Enter New Value for Custom List'
}).isMandatory = true;

form.addSubmitButton({ label: 'Add to Custom List' });
return form;
}

function checkDuplicateValue(value) {
const resultSet = search.create({
type: CUSTOM_LIST_ID,
filters: [['name', 'is', value]],
columns: ['internalid']
}).run().getRange({ start: 0, end: 1 });

return resultSet.length > 0;
}

function addNewValueToCustomList(value) {
const rec = record.create({ type: CUSTOM_LIST_ID });
rec.setValue({ fieldId: 'name', value: value });
return rec.save();
}

function buildErrorPage(context, value) {
const form = ui.createForm({title:'Duplicate Entry Detected'});
form.addField({
id: 'custpage_error',
type: ui.FieldType.INLINEHTML,
label: ' '
}).defaultValue = `
<div style="
padding: 10px 0;
color: #cc0000;
font-family: Arial, sans-serif;
font-size: 17px;
padding-left: 10px;
margin-top: 20px;">
<strong>Error:</strong>
The value "<strong>${value}</strong>"
already exists in the custom list.
<br><br>
<strong style="color:green">Resolution:</strong>
<span style="color:green">
Please enter a unique value.
</span>
</div>`;
context.response.writePage(form);
}

function buildSuccessPage(context, value, id, requestUrl){
const form = ui.createForm({ title: 'Success' });

form.addPageLink({
type: ui.FormPageLinkType.CROSSLINK,
title: 'Back to Form',
url: requestUrl
});

form.addField({
id: 'custpage_success',
type: ui.FieldType.INLINEHTML,
label: ' '
}).defaultValue = `
<div style="
color: green;
font-family: Arial, sans-serif;
font-size: 17px;
margin-top: 20px;">
<strong>Successfully</strong> added
"<strong style="color:#4d5f79">${value}
</strong>" to the custom list.
<br><br><strong>Internal ID:</strong>
<strong style="color:#4d5f79">${id}</strong>
</div>`;

context.response.writePage(form);
}

return {
onRequest
};
});


SuiteLet UI Sample Screen Shots:


1. Home Page:


2. Success Page:


3. Error Page


4. Ensure the new list value has been successfully added.


Other Possible Scenarios:

Similar to adding new values, existing entries in a custom list can also be deleted as needed.

Final Thoughts:

Granting unrestricted access to manage custom list values poses risks, such as accidental deletions or incorrect entries.

To mitigate this, access should be restricted to authorized users by validating roles or internal IDs (e.g., 'If user role is X' or 'If internal ID is Y'). This ensures data accuracy and system integrity.


Sample SuiteLet OutPut Video:


Monday, 17 February 2025

Various methods for automatically closing NetSuite PO items and expense lines

When should Purchase Order Expense or Item Lines be closed by business users?
A purchase order line that remains open in NetSuite indicates that a financial commitment exists. Businesses close PO records for the following reasons:

Closing PO Item Lines :

Cancel PO records that are not necessary: The business user can eliminate the commitment by closing the PO line if a vendor / supplier is unable to complete an order.

✅ Preventing month-end cleanup problems: Reconciliation issues during month-end or year-end financial close may arise from maintaining needless open PO lines.

✅ Enhance NetSuite system performance: Processing and reporting times may be slowed down by a large number of open POs with unused lines.


Closing PO Expense Lines :

Stopping Unauthorized or Duplicate Expenses: Closing an expense guarantees that it won't be accepted should it be entered improperly or lose validity, so preventing unauthorized or duplicate expenses.

✅ Prepaid Expense Reconciliation: Closing an expense line that has been pre-paid or refunded guarantees that no further action is taken on it.

✅ Maintaining Financial Discipline: Companies with stringent budgets eliminate unnecessary expenses.

Different ways of Automating PO lines Closing:

Based on the business need, we can close the entire PO item or expense lines or specific lines using NetSuite Saved Search or CSV File.


Closing all the PO Expense lines: Pseudo Code:
// Load the Purchase Order Record

let poRecObj = record.load({
type: record.Type.PURCHASE_ORDER,
id: poId,
isDynamic: true
});
// Closing Expense Line
let lineCount = poRecObj.getLineCount({ sublistId: 'expense' });
let closedLines = [];

// Iterate through PO Expense lines
for (let i = 0; i < lineCount; i++) {

let isPOLineClosed = poRecObj.getSublistValue({
sublistId: 'expense',
fieldId: 'isclosed',
line: i
})

// Check if the PO Line Number exists in the saved search results
if (!isPOLineClosed && lineNumbers.includes(actualLineNumber.toString())) {
log.
debug(`Closing PO Line`, `PO: ${poId}, Line: ${actualLineNumber}`);

//Select line and set it as closed
poRecObj.selectLine({ sublistId: 'expense', line: i });
poRecObj.setCurrentSublistValue({ sublistId: 'expense', fieldId: 'isclosed', value: true });
             poRecObj.commitLine({ sublistId: 'expense' });

closedLines.push(actualLineNumber);
}
}

//Save the updated PO Record
poRecObj.save();
log.debug(`PO ${poId} updated successfully`, `Closed Lines: ${closedLines}`);
Closing the specific Item lines:

Pseudo Code:
// Load the Purchase Order Record

let poRecObj = record.load({
type: record.Type.PURCHASE_ORDER,
id: poId,
isDynamic: true
});
// Closing Item Line
let lineCount = poRecObj.getLineCount({ sublistId: 'item' });
let closedLines = [];

// Iterate through PO lines
for (let i = 0; i < lineCount; i++) {
let actualLineNumber = poRecObj.getSublistValue({
sublistId: 'item',
fieldId: 'linesequencenumber',
line: i
});

let isPOLineClosed = poRecObj.getSublistValue({
sublistId: 'item',
fieldId: 'isclosed',
line: i
})

// Check if the PO Line Number exists in the saved search results
if (!isPOLineClosed && lineNumbers.includes(actualLineNumber.toString())) {
log.
debug(`Closing PO Line`, `PO: ${poId}, Line: ${actualLineNumber}`);

//Select line and set it as closed
poRecObj.selectLine({ sublistId: 'item', line: i });
poRecObj.setCurrentSublistValue({ sublistId: 'item', fieldId: 'isclosed', value: true
               });

poRecObj.commitLine({ sublistId: 'item' });

closedLines.push(actualLineNumber);
}
}

// Save the updated PO Record
poRecObj.save();
 log.debug(`PO ${poId} updated successfully`, `Closed Lines: ${closedLines}`); 

To close certain PO lines, we must use the internal standard field "Line Sequence Number" rather than the "Line Number".

The line number may not be the same as the PO sequence number.


Which type of Suite Script to choose?

  1.   For Bulk closing of PO's we can choose Scheduled Script / Map/Reduce Script.

    1. Schedule (or) Map/Reduce Script Logic:

      1. Get Input Stage : 

        1. Reads CSV File / Saved Search results and groups PO Internal Ids with their respective Line Numbers.

        2. Returns key-value pairs (PO Internal Id → Array of Line Numbers).

      2. Map Stage:

        1. Receives one PO Internal Id at a time.

        2. Emits all related Line Numbers for that PO.

      3. Reduce Stage:

        1. Loads the Purchase Order using record.load().

        2. Iterates through PO lines, checking if the PO Line Number exists in the CSV.

        3. Closes matching PO Lines.

        4. Saves the updated PO record.

      4. Summary Stage: 

        1. Logs errors and send PO closing completion status to the submitted user.


  2. For Better User Access: We can create the SuiteLet Script to provide the closing PO details.


Saturday, 15 June 2024

Practical applications of the N/runtime Module


N/runtime Module

  • A more straightforward and potent module is NetSuite N/Runtime.

  • We can create a reliable, secure, and effective business solution or feature by combining the runtime module with other SuiteScript modules. 
  • Using a real-world example, I will attempt to demonstrate the practical use of a runtime module in this blog post.

  • Business Use Case: 
    Imagine that we are constructing a tool in the NetSuite system for tracking employee leaves. This tool allows employees to delegate work to their peer coworkers, apply for new leaves, track leaves that they have already submitted,  check their remaining leave balance, cancel their already-submitted leave request, etc.

  • The N/runtime module allows us to obtain the information below :
    •  The script's runtime settings,
    •  The session info, 
    • The user's current log-in details.
    • The information about NetSuite accounts, including the Account Id, Version, Environment, and Processor Count
    • Context of Execution

  • Let's create an employee leave tracking app using each of the possible aforementioned runtime module features.

  • Method: runtime.getCurrentUser()

runtime.getCurrentSession()
  • Assume that the following fields are included in the Leave Tracking Application (LTA):
    • Requested By
    • Next Approver (Manager)
    • Leave Start Date  & Leave End Date
    • Reason
    • Any Supporting Documents

  • Use Case 1 :

    Once the user enters the LTA screen for applying leave, we can automatically default the Requested By Field and Next Approver values using the below syntax.

    • Get current logged-in user information
      • let currentLoggedInUserDetails = runtime.getCurrentUser();
        
    • Get current logged-in user Id i.e. (NetSuite employee record internal id)
      • let userId = currentLoggedInUserDetails.id;

        //Record.setValue('customrecord_requested_by,
        userId);
    • Then use the N/search module to get the employee's manager id.

      • let fieldLookUp = search.lookupFields({
            type: search.Type.Employee,
            id:  userId ,
            columns: ['custentity_manager']
        });
        
        let empManager = fieldLookUp.custentity_manager;
        
        //Record.setValue('customrec ord_req_by_manager', empManager);
    • Use Case 2 : 

      In a similar way, we can use the employee's logged-in user ID to display the Cancel button to the employee who filed the leave request and the "Approve/Reject" button to the employee  manager so they can approve the leave request of their subordinates.

    • Use Case 3 : 

      Assuming the employee requests a leave of absence longer than thirty (30) working days, they must submit the necessary documentation and obtain further HR department permission.

    • let userDepartment = currentLoggedInUserDetails.department;
      
      if(userDepartment === 'HR Department'){
      
         //Show the Approve/Reject Button to the HR, for approving employee leave request.
         //When the employee taking leave more than 30 days.
      
      }

    • Use Case 4 : 

      Assume for the moment that the organisation has employed more than 50,000 people and is spread out across several different nations. The HR team head for the employee region must then approve the secondary request.

      For example, the HR department in America needs to approve or reject a leave request submitted by an employee from the United States; the same goes for Asia, Africa, Europe, Oceania, etc.

    • let defaultEmployeeRegions = [`America's`,`Asia`,'Africa',`Europe`,`Oceania`];
      
      let userDepartment = currentLoggedInUserDetails.department;
      
      let userLocation = currentLoggedInUserDetails.location;
      
      if(userDepartment === 'HR Department' && defaultEmployeeRegions.includes(userLocation)){ //Show the Approve/Reject Button to the HR }

  • Method : runtime.getCurrentScript()


Runtime Script Properties

    • We can obtain the details of the currently executing script using the below syntax,
       
      let scriptObj = runtime.getCurrentScript();

    • Method:  script.getParameter() : 

    • Use Case 5 :  This is a technique to pass a changeable or dynamic value to a script without having to hardcode it there.

    • let scriptObj = runtime.getCurrentScript();
      
      let paramDepartment = scriptObj.getParameter({name: 'custscript_department'});
      
      In the script deployment --> Script Parameter field page: will store the Department value i.e. "HR Department"; 
      
      
      if(userDepartment === paramDepartment){
      
         //Show the Approve/Reject Button to the HR
      
      }

    • Property: Script Id, Script Deployment Id

      • Use Case 6 : 

        Instead of viewing each request individually, the HR Department would prefer to see the list of pending leave requests associated with their region on a single screen. They use this screen to examine and approve all of the leave requests at once.

      • We provide the HR department with a confirmation message once every leave request has been examined and submitted for approval.

        let scriptObj = runtime.getCurrentScript();
        
        let currentScriptId = scriptObj.id;
        
        let currentScriptDeploymentId = scriptObj.deploymentId;
        
        Using the N/Redirect module we can redirect it to "Status" Page.
        
        redirect.toSuiteLet({
          scriptId: currentScriptId,
          deploymentId: currentScriptDeploymentId,
          parameters: {
             'custparam_show_status_page' : 'YES'
        });
        
    • Method: script.getRemainingUsage() : 
      • There is a defined governor usage limit for each script.
      • For instance, a scheduled script can have 10,000 usage points, a RestLet script can have 5000 usage points, a client script, a user event, and a SuiteLet script can have 1000 usage points, and so on.
      • The script governance limit will be lowered.if the script makes use of SuiteScript APIs such as email.send(), record.create(), record.load(), search.create(), and so on.

      • Use Case 7 : 

        We can obtain the remaining governance usage limit of the currently running script and create efficient solutions by using the script.getRemainingUsage().

      • var scriptObj = runtime.getCurrentScript();
        
        For Scheduled Script : 10000 Usage Points
        
        if(scriptObj.getRemainingUsage() >= 200){
        
           // Do you business logic here
        
        }else{
        
          ReTrigger the same Scheduled Script to resume it's operation
          
          let currentScriptId = scriptObj.id;
        let currentScriptDeploymentId = scriptObj.deploymentId;
        let schScriptTask = task.create({ taskType: task.TaskType.SCHEDULED_SCRIPT, scriptId: currentScriptId, deploymentId: currentScriptDeploymentId, params: {lastRunLTARecordId: 12345} }); let scheduledScriptTaskId = schScriptTask.submit(); }

  • Property: runtime.executionContext

NetSuite Execution Contexts

    • Details about how a script is triggered to run are provided by execution contexts. A NetSuite application activity or an action taking place in a different context, such as a web services integration, CSV import, user interface, or client, for instance, causes a script to be activated. 
    • To make sure that your scripts run only when necessary, you can use execution context filtering. 

    • Use Case 8 : 

      Assume for the moment that an employee should only submit a leave request while logged into NetSuite.
    • if (runtime.executionContext === runtime.ContextType.USER_INTERFACE) {
          //Do the scripting solution
      }else{
      
        //Throw validation error message using N/error module
      
      
      var custom_error = error.create({
          name: 'YOU_ARE_NOT_ALLOWED_CREATE_NEW_LTA_RECORD',
          message: 'Invalid LTA Request',
          notifyOff: false
      });
      
      throw custom_error;
      }
                              

  • Property: runtime.accountId
    • Use Case 9 :

      Let's assume that the LTA app has been released as the NetSuite Suite App. This SuiteAPP is a paid version. To utilise this SuiteApp within their firm, one must purchase it from the developed company. It has a one-year license usage policy. Organisations must renew annually. Assume that in the event that the organisation fails to renew, we will be able to block them from using the LTA App.
  • let companyId = runtime.accountId;
    
    //Using the N/https module we can validate the company's license in our
    company's license portal.
    
    var headerObj = {
        name: 'Accept-Language',
        value: 'en-us'
    };
    var response = https.post({
        url: 'https://www.your_organisation.com',
        body: companyId,
        headers: headerObj
    });
    
    var response_body = response.body; // see https.ClientResponse.body
    
    var response_code = response.code; // see https.ClientResponse.code
    
    if(response_code === 200){
    
     if(response_body === `LICENSE_IS_VALID`){
    
         //If the license is valid then allow the user to use the LTA app.  
    
     }else{
    
     var custom_error = error.create({
        name: 'LICENSE_EXPIRED_FOR_THE_LTA_APP_USAGE',
        message: 'Please renew at the earliest, for more details contact accounts team.',
        notifyOff: false
    });
    
    throw custom_error;
    } }


  • Property: runtime.envType

runtime.envType

    • Use Case 10 : 

      Assume that the LTA application should only be used in the production environment. 


let currentEnvironmentType = runtime.envType;

if(currentEnvironmentType === 'PRODUCTION'){

//Then allow the user to use the LTA App

}else{

  //Throw validation error message to the User

  //LTA APP can only be used in the PROD environment

}